Custom Apparel for Outdoor Clubs
From graphics to durability, we'll help you create the perfect gear.
Published 7/31/25
Every outdoor club has its own spirit, whether you're weekend campers, trail runners, or peak-bagging mountaineers.
When you’ve got a close knit crew, custom apparel isn't just about looking good. It’s about curating vibes, and turning every adventure into a memory to laugh and reminisce about later.
In this article, we'll walk you through some of the high level considerations for designing your club's merch.

Step 1: Capture Your Club’s Vibe
What defines your club or group of friends?
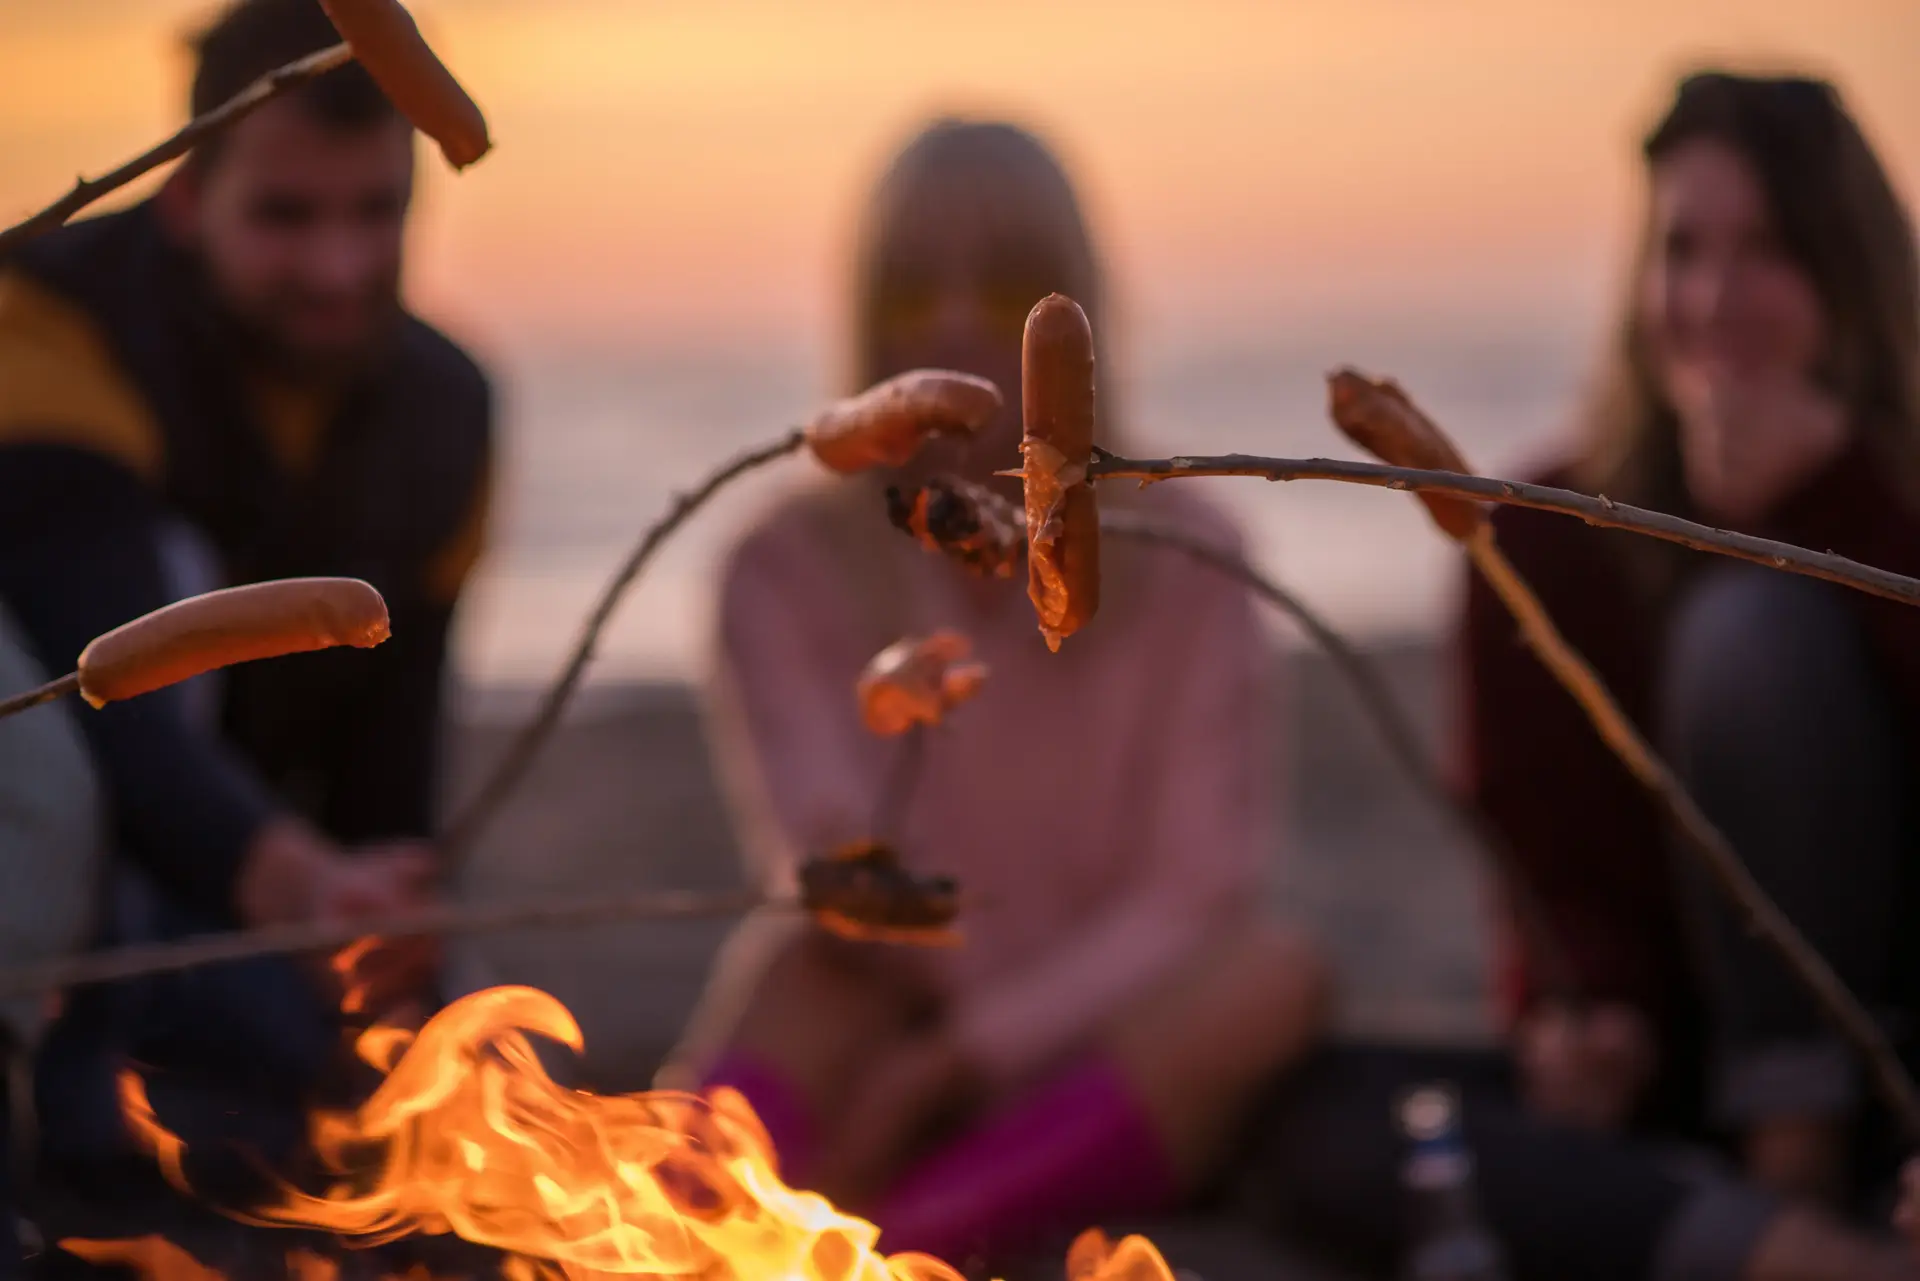
Are you bold and rugged, seeking new challenges with every trip? Or are you chill and laid back, looking for the perfect spot to pitch some hammocks and toss some hot dogs on the grill?
If you’re going to go the extra mile by creating Official Merch™ for your club, it’s critical that you nail the vibe.
Here’s a few tropes to whet your appetite:
Don’t know where to start? Check out our Custom Apparel Design Services - we'll help you come up a design that's the perfect fit.
Step 2: Choose Colors That Work Outdoors
Unless you’re trying to fry yourself in the summer, don’t choose black for your blanks.
Light colors are ideal for year-round wear, since they help reflect solar heat in the summer, and are buried under additional layers the rest of the year.
If you’re trying to achieve a “natural” look, consider colors like moss green, slate gray, or sunset orange. These colors are common for popular outdoor brands, and you’ll look legit if you lean into the aesthetic.
For long-term cost reasons, it’s best to choose a primary color you really like, and 1-2 supporting colors that can be used for printing or embroidery.
Choose wisely; you might find another opportunity to use your new palette if you decide to make hats or other items later.
Step 3: Keep Your Graphic Bold and Simple
If you want other people to recognize your group from a distance, your artwork needs to be clean and legible.
We’re getting into Graphic Design 101 territory here, but if your logo or artwork isn’t legible while squinting, it could probably use a little TLC.
Aim for clean, bold designs with thick lines. Chunky lettering typically works well here; thin lines often get lost if you’re not looking at them up close.
Step 4: Choose the Right Garments
Creating slick designs is fun, but if your garments aren’t comfortable and useful for the situation at hand, people aren’t going to wear them.
Thankfully, there are a plethora of options these days - lightweight, breathable tees; long sleeve performance shirts that use mesh and novel materials to improve wicking and UV protection, and fleece lined longsleeves and hoodies for cold weather applications.
If you give us some context on what your club does, where, and what time of year, we can help you choose the perfect garments for your project.
Step 5: Nail the Placement
Getting your artwork placed correctly on the garment is harder than it sounds.
A slightly asymmetrical design won’t look right if you just throw it where a balanced logo typically goes.
There is a lot of nuance here that’s hard to articulate; this is where our design team is able to pitch in and help ensure things looks “right” when they go to print.
Step 6: Add Signature Details
We’re able to add tons of little details; your imagination really is the limit.
We can add custom labels, as if you’re a worldwide brand of your own. We can add member initials or the year they joined on their sleeve. We can print taglines or slogans inside the collar.
Ultimately, if you’ve got an idea, we can probably make it happen.
Step 7: Test Before You Commit
Before placing your full order, make sure you feel good about your design.
Sketch it, double check it, make detailed notes about techniques and placement - all of the above is really useful for our design team when recommending the right techniques, placement, and blanks.
We also offer one-off test runs; they aren’t cheap, but they can give you peace of mind before you order a whole bunch.
Budget Friendly Tips
The most important thing is to order in bulk if possible: 10 units or more start to see per-unit savings due to economy of scale from our suppliers.
Reducing your designs to 1-2 colors can help save printing and embroidery costs.
Choosing garments and designs that work for all seasons can reduce or eliminate the need for maintaining separate seasonal lines of product, eg a “summer line” and a “winter line”.
Let's get started!
Once we get the details about your project, our team will go to work developing a plan and work with you to finalize your design artwork.